Tutorial: Application of Nitro's Magic Ombre
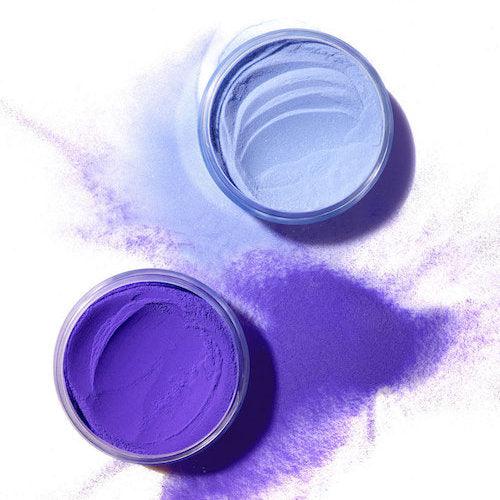
A step by step tutorial on how to apply our new Magic Ombre by Nitro Dipping System.
- First, we're going to start off by putting on our foundation layers.
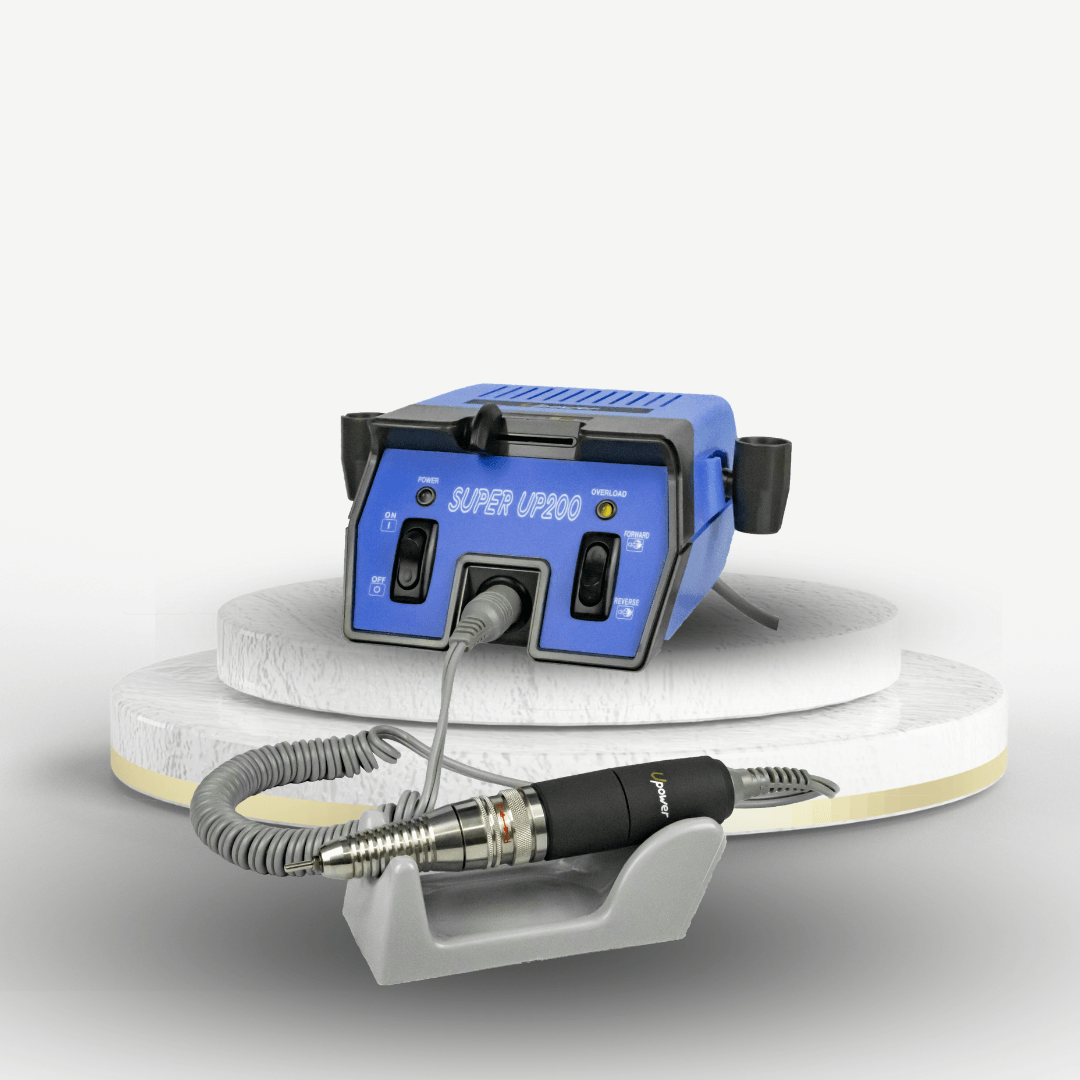
- Then file them down into shape. Using the end of the chrome brush, brush the hands clean.
- Using Nitro's colour base dip two to three layers of your desired primary colour. Make sure to brush off all the excess powder in between layers.
- After you finish applying your primary colour using the colour base again apply one layer of Nitro's crystal clear.
- Apply the activator to dry.
- Then file the nails back into shape.
- Further file down the nails.
- Buff the nails smooth.
- Brush the nails clean.
Now we are going to apply the Ombre using Nitro's magic on foundation and Nitro's cordless UV LED lamp. - Apply one coat of the magic Ombre Foundation. And cure it under the UV LED lamp for 60 seconds.
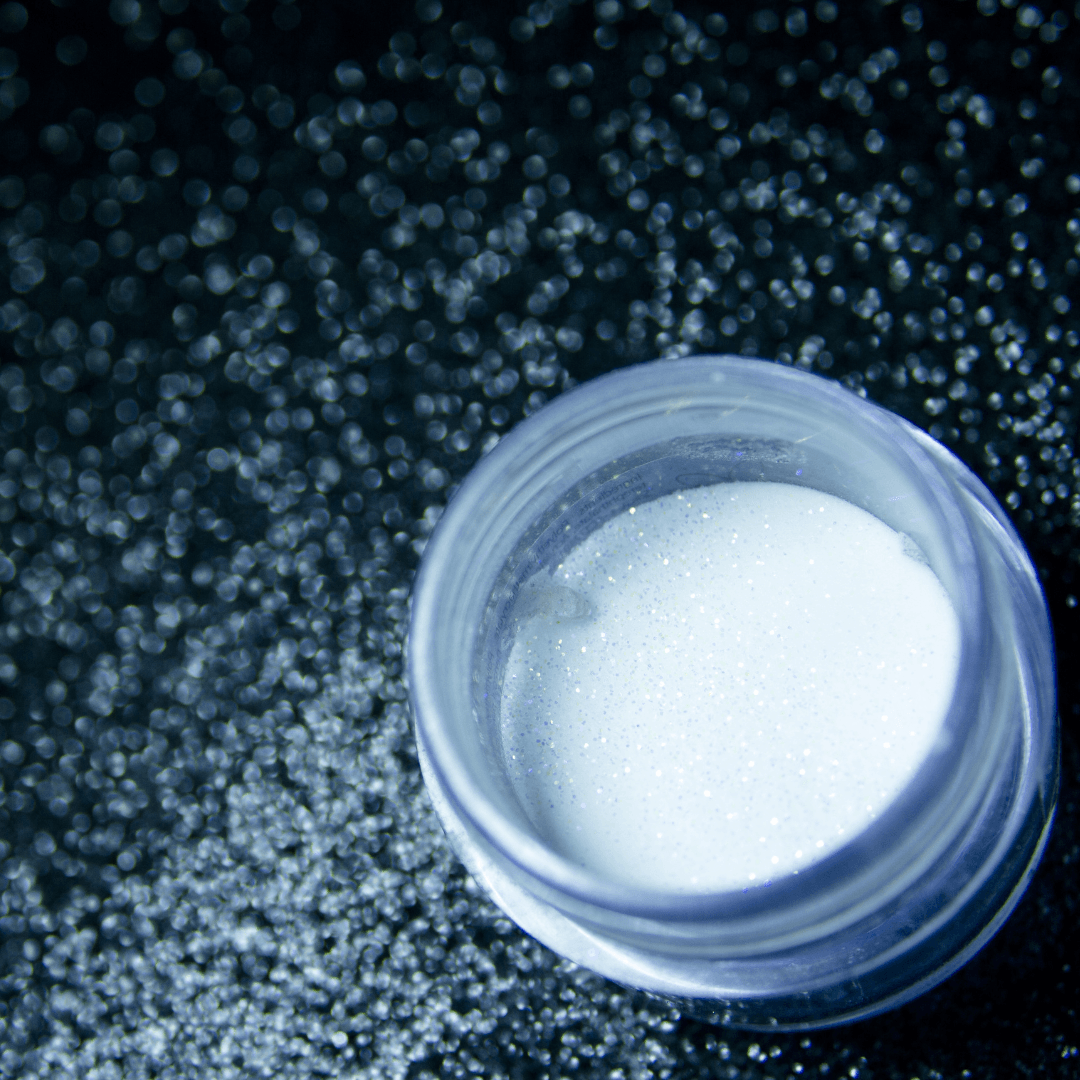
- To create the Ombre effect continuously dip the nail into your desired colour starting from the bottom and working your way up slowly.
- Using Nitro's chrome brush, brush off all the excess powder on top of the nail before dipping it in a second time.
To create a more radiant colour. The more layers that you dip the brighter and more ready and the colour will turn out. - Brush off all the excess powder around the nail.
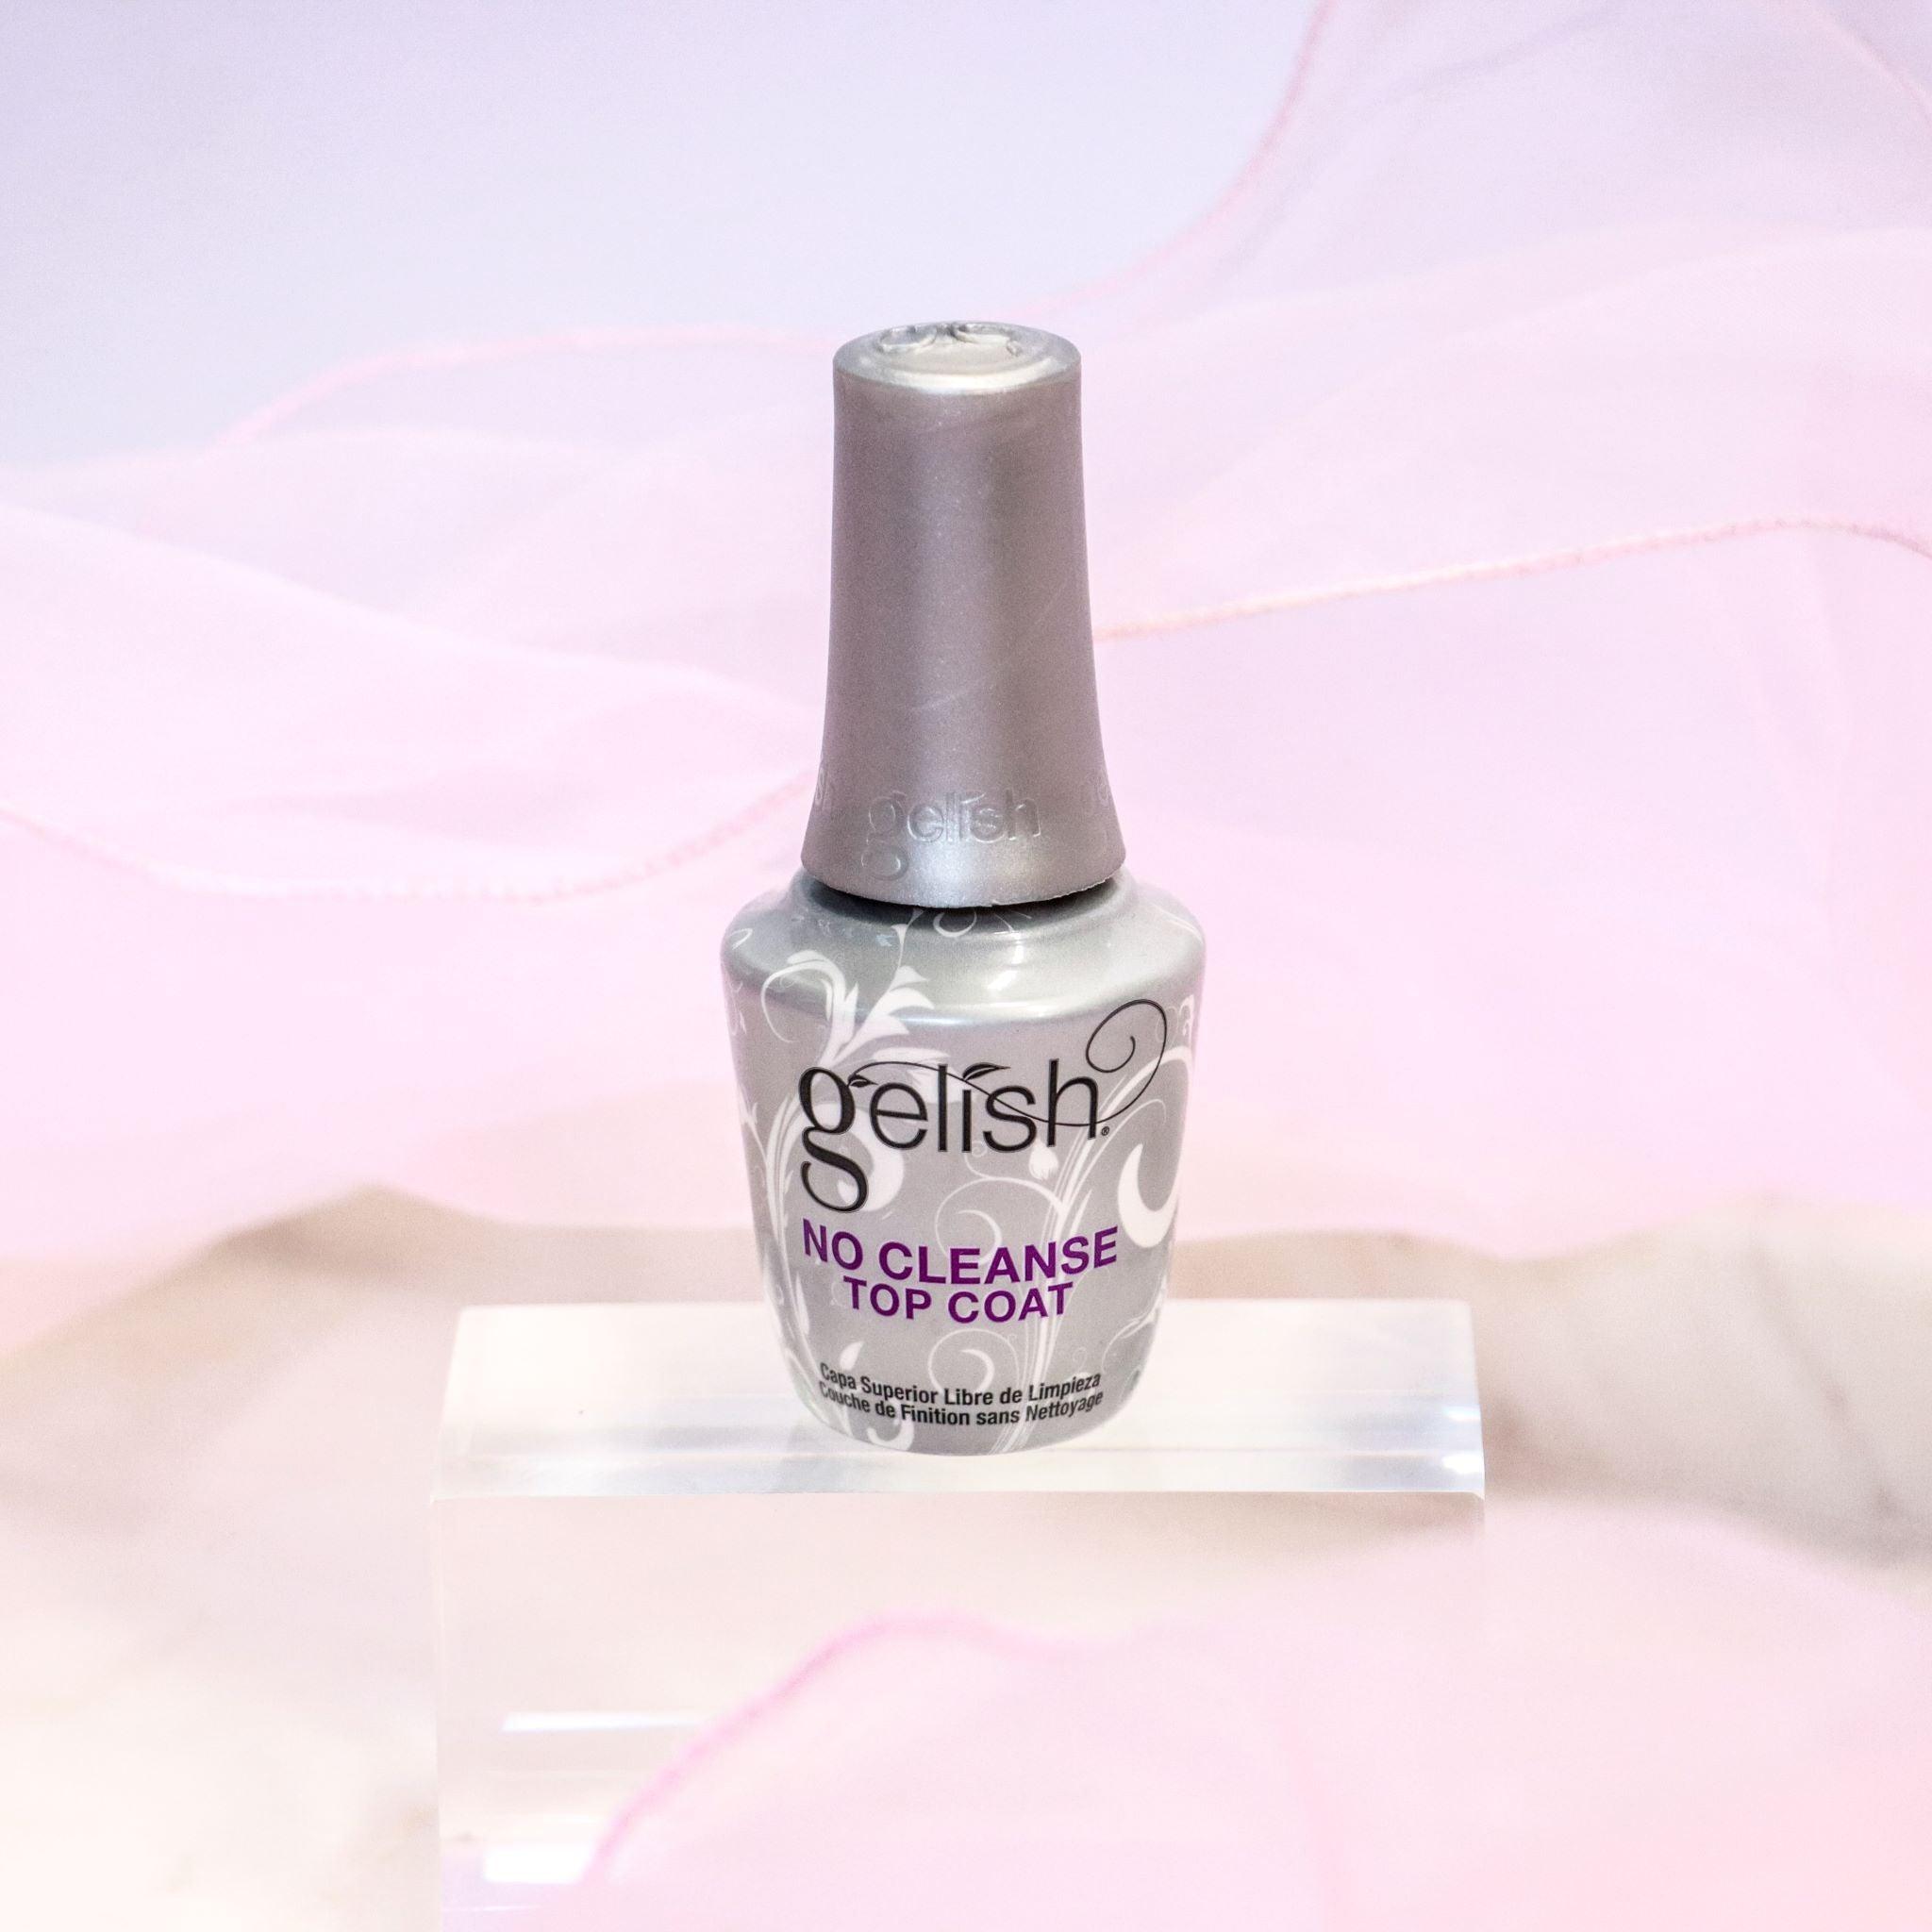
- Apply a layer of Nitro's non-cleansing top coat for a shiny finish. Ensure to seal the sides and the tip of the nail. So that the Ombre effect does not peel off.
- Cure it under the UV LED lamp for a further 60 seconds.
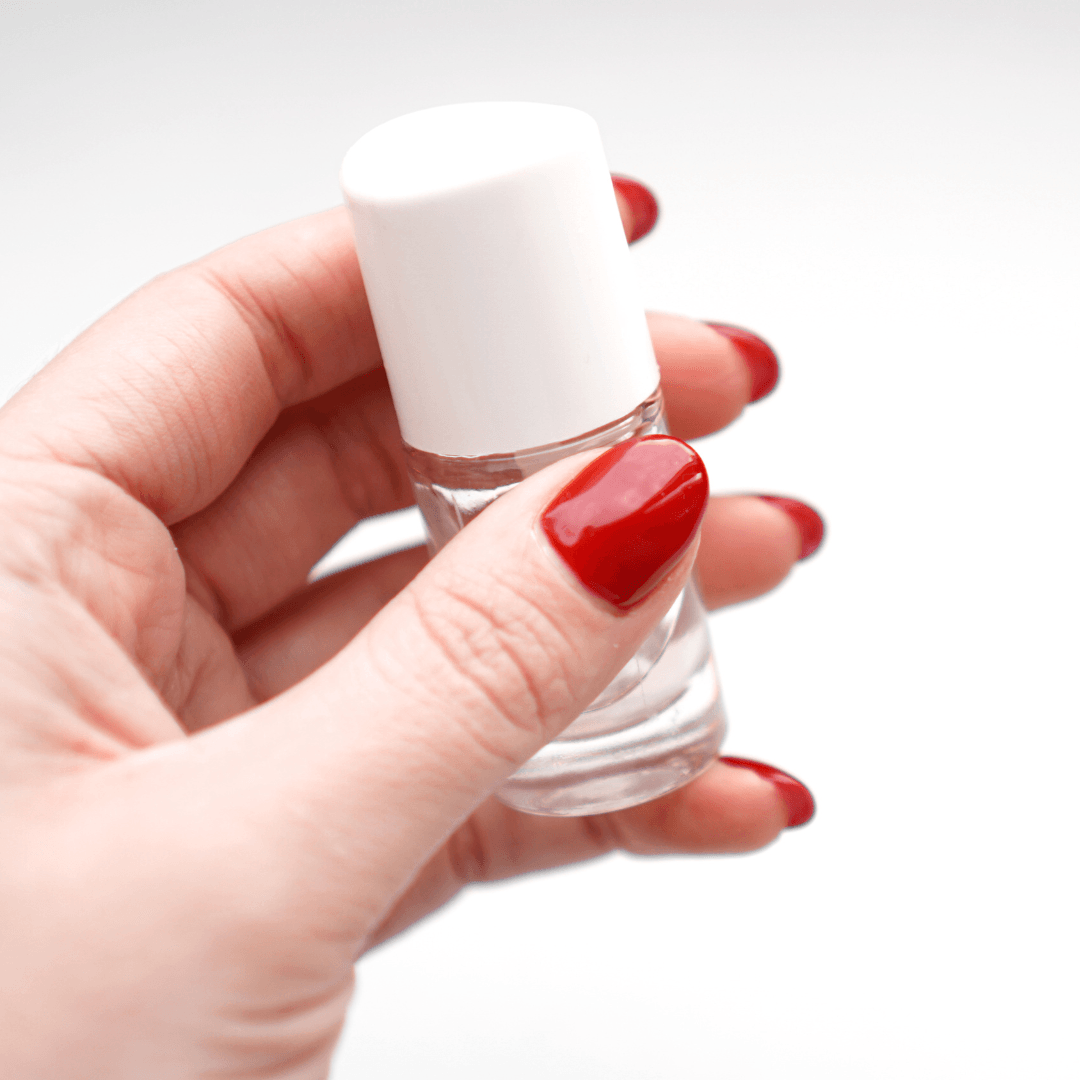
- Finish off by applying Nitro's cuticle oil around the nail and then massaging it into your client's hands.


